
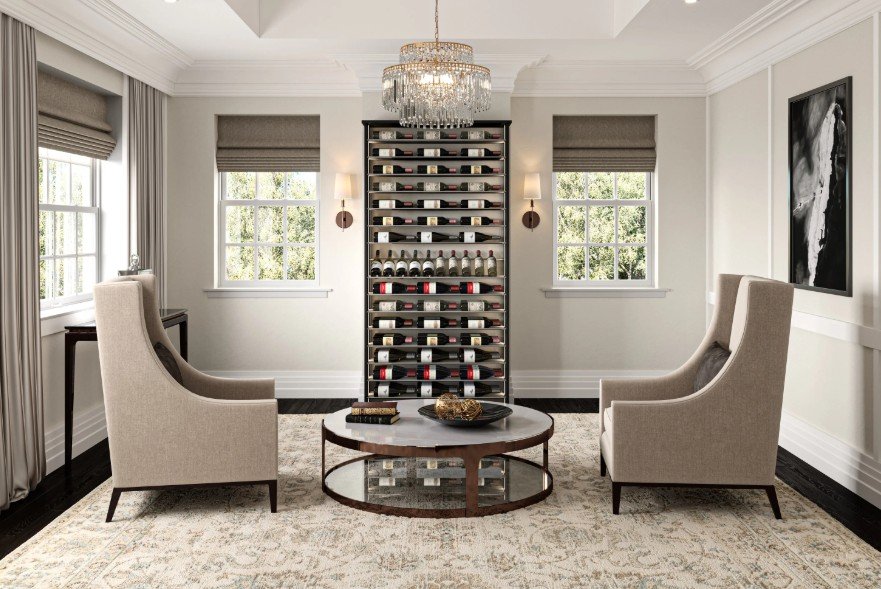
A Complete Guide to Modular Wine Racking for Your Home Collection
What turns a wall of bottles into storage you enjoy using
An empty rack is full of decisions. We choose which bottles sit within easy reach, which labels face the room, and where the next few purchases will go. Those choices shape more than the look of a wine wall. They shape the small routine of putting wine away and finding it again. A neat display can still leave us hunting through rows for a bottle we know is there. We can spare ourselves that trouble by giving each part of the layout a purpose. Before we choose a finish or fill a shopping cart, we can think about the simple task the racks must do: hold our collection in a way that makes sense to us.
A useful layout can be developed around modular wine racking once we know how we want to group and reach our bottles. We can plan sections for different needs while keeping the overall wall easy to read. This guide explores how to divide the storage, map the space, and leave a sensible path for later additions. We will look at bottle shapes, useful access, and the details that help separate modules from one another in a considered design. We will also discuss what to ask before assuming that future pieces will fit. The reward is a layout we can explain, build with purpose, and use without much fuss. Our best starting point is the wine already in our home. From there, we can give each section a job and each new choice a clear reason to belong.
Which rack sections deserve space in your first layout
Divide your wish list by function before deciding how many modules to buy. Think about what you want to store, show, and reach. These three groups give the layout structure.
- Keep everyday choices within reach
Choose a section for bottles you expect to open soon. Place it where you can read labels and remove bottles comfortably. Decide whether grouping by wine type, region, or purchase date suits you. Use one clear system so putting bottles back feels easy.
- Give display space a purpose
Pick the bottles you want to feature first. Check the bottle position and the space each display section requires. Balance the view you want with the number of storage slots you need. Avoid filling the plan with display pieces for looks alone.
- Make room for different shapes
Review the wider, taller, or larger bottles in your collection. Ask which modules are intended to hold those formats. Confirm slot dimensions instead of assuming every bottle fits a standard opening. Keep these sections easy to identify when you add wine later.
How to map the wall before ordering individual rack modules
Sketch the wall with its full width and height clearly marked. Add doors, outlets, vents, switches, and any other fixed items. Measure near the floor and higher up rather than relying on one reading. Include the depth available without narrowing the path through the room. Check the finished dimensions of every module you are considering. Add any base, trim, or top pieces to the drawing as well.
Set the proposed arrangement on paper before committing to an order. Ask the supplier to review the combination for fit and intended use. Confirm how the racks must be assembled and secured under their instructions. Keep access to room controls and service points clear in the plan. Check that bottles can be removed without awkward reaching or nearby obstructions. Use a short drawing checklist to catch details before checkout:
- Mark the full width, height, and depth of each section.
- Include trim dimensions wherever they affect the total footprint.
- Show door swings and the path needed to move comfortably.
- List the parts required to complete the proposed arrangement.
When to add more racks and what to confirm before expanding
Expansion works best when you know what the first layout leaves available. Mark any space reserved for more storage on your original drawing. Keep the module names, dimensions, and finish details with your order record. Ask which additions are compatible with the system you choose. Avoid assuming every rack in the same shop belongs to one range. Confirm any joining or mounting requirements before buying another piece.
Let actual storage needs guide the timing of a new order. Notice which sections fill first and which remain partly empty. A shortage of wide slots calls for a different response than a shortage overall. Review how the wall works before simply repeating the first purchase. Ask about current availability and finish samples when you are ready to expand. Keep these points in mind as the collection changes over time:
- Recount bottles by shape as well as by total number.
- Confirm compatibility using exact product details rather than appearance.
- Ask how a new finish sample compares with existing racks.
- Recheck the complete layout before adding more height or width.
Why a useful wine wall starts with a plan you can explain
We can create a more satisfying wine wall when every section has a reason to be there. Daily access, display space, and bottle fit give us a strong basis for choosing modules. A measured drawing then turns those choices into a layout we can review. Keeping the details makes later decisions easier to approach.
Our next step does not need to fill the whole room. We can sketch one wall, group the bottles, and choose the sections that serve them best. Share that sketch with a rack specialist before placing the order. Begin with an arrangement you understand, and let your wine wall take shape one useful section at a time.